

Although blockchain technology is not new, it has picked up popularity in recent years, especially within the crypto community. Many people are now building blockchains or decentralised applications (dApps) on them. As a result, the need to access on-chain data has become ever more apparent.
What is On-Chain Data?
On-chain data refers to any data that is stored on the blockchain. This includes transaction data such as wallet addresses, amounts of tokens sent, etc. Other data might include block data and smart contract data, which is expanded upon in our beginner’s guide to on-chain data.
Why Do We Need On-Chain Data?
On-chain data can be used for a plethora of reasons. The most straightforward reason would be to directly siphon raw data from the blockchain to analyse it. People might do this to analyse blockchain transactions, hoping to glean information for crypto trading. The most common application of this is whale-watching. This refers to using on-chain data to track whale wallets. People typically do this to be able to predict trends in the crypto market, or tell if big is about to happen as whales tend to move before the rest of the market. They also tend to have enough crypto in their wallets to make a big impact on the entire market.
Other people, such as developers, use on-chain data to build dApps on blockchains. In order to build blockchain infrastructure, such as a wallet, payment system, an exchange, or anything else, developers need on-chain access. This is where access node providers such as RockX come in. While it’s possible to build your own nodes on various blockchains, this is time-consuming and costly. If you’d like to try your hand at it, check out our guide to setting up your own blockchain node! If not, read on to see how to get on-chain access quickly and easily, for as low as $0/month.
How to Access On-Chain Data
Here is a quick and easy guide to gaining on-chain access through RockX’s access node API portal. Subscriptions start at $0/month and custom access is available on demand. Here is a step-by-step guide on how to access on-chain data through RockX’s access nodes. If you prefer video, here is a straightforward one to get you started.
1. Log in to your RockX account
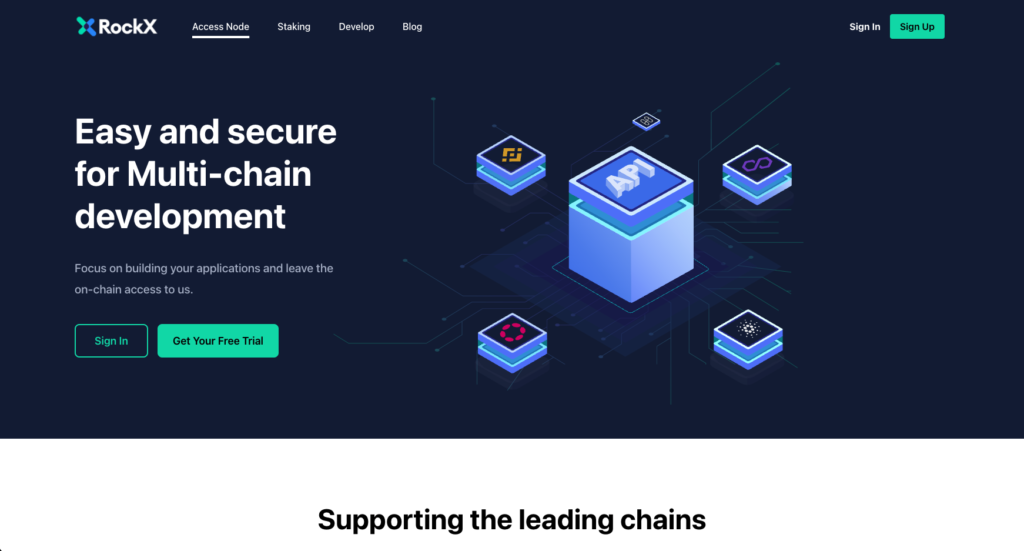
Go to access.rockx.com and sign in to or sign up for your RockX access node portal account. It’s free and only takes a minute!
2. Select the blockchain and desired plan
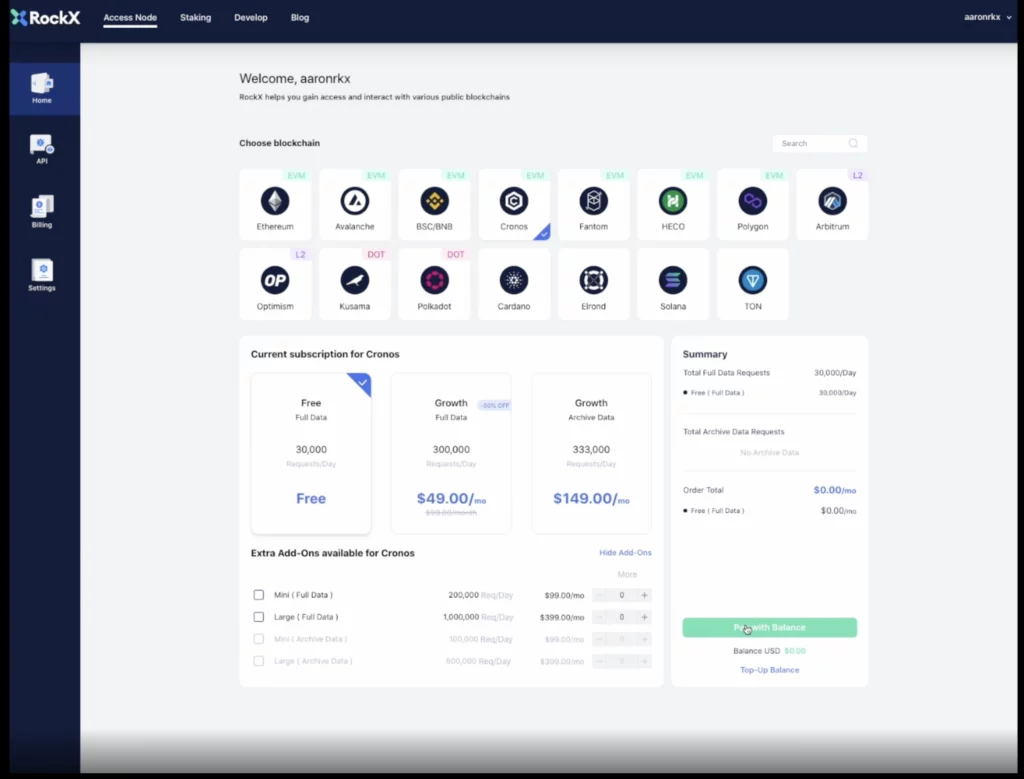
After signing in, select the blockchain you’d like access to. Then, you may select from our free or growth plans. You may also make payment at this stage if you selected one of our paid monthly plans.
3. Click “View API”
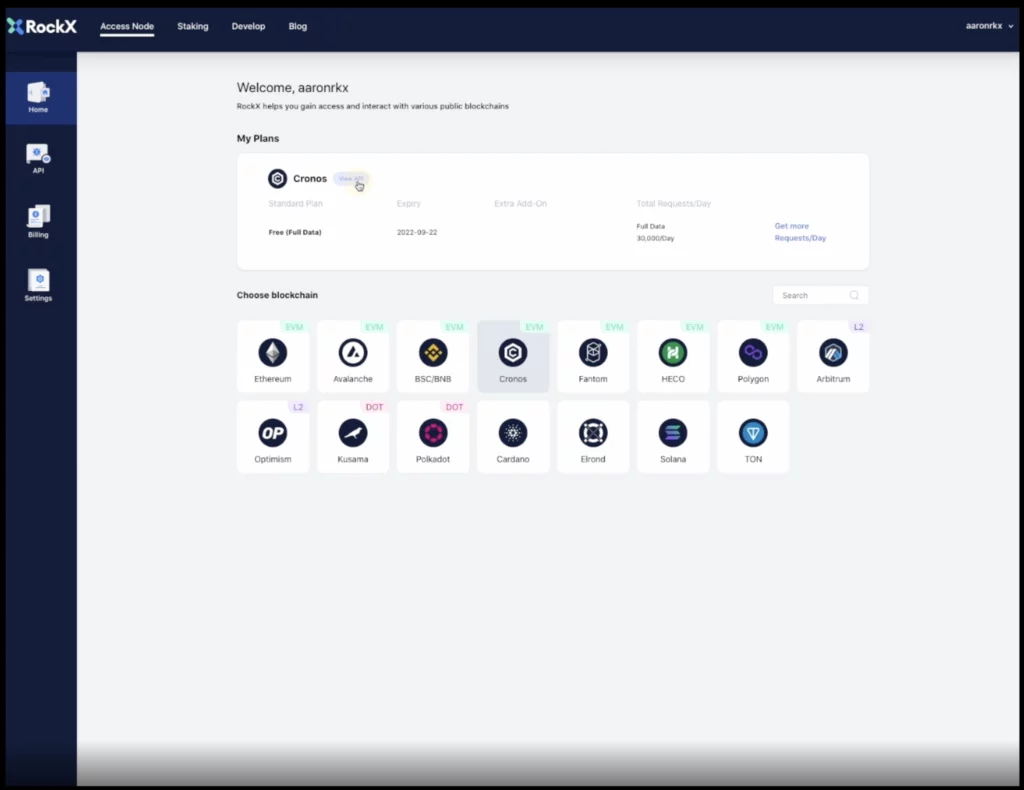
On the following screen, click on “View API” next to the blockchain you’d like to access. You need to have already subscribed to the blockchain for it to appear on this page. If it’s not there, please refer back to step 2.
4. Click on “View Key”

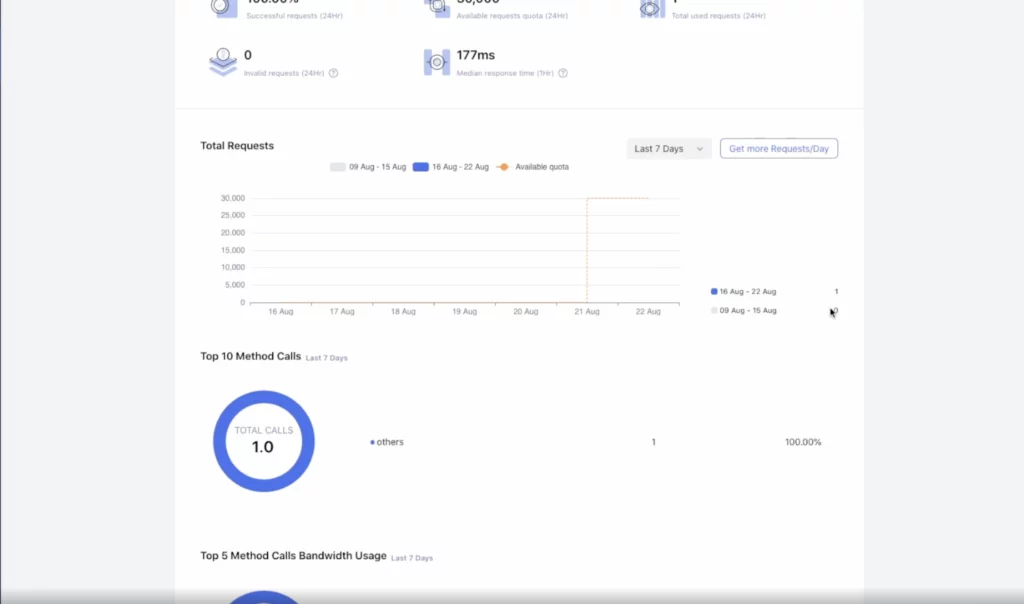
On this page, check your “Total Requests” chart. It should show “0” at this point. Scroll down to the bottom of the page, and click on the “View Key” button under the “Operations” column of the “API Access” section. Once that is done, copy the “Get Started” key by clicking on the “Copy” button next to it.
5. Paste into Terminal
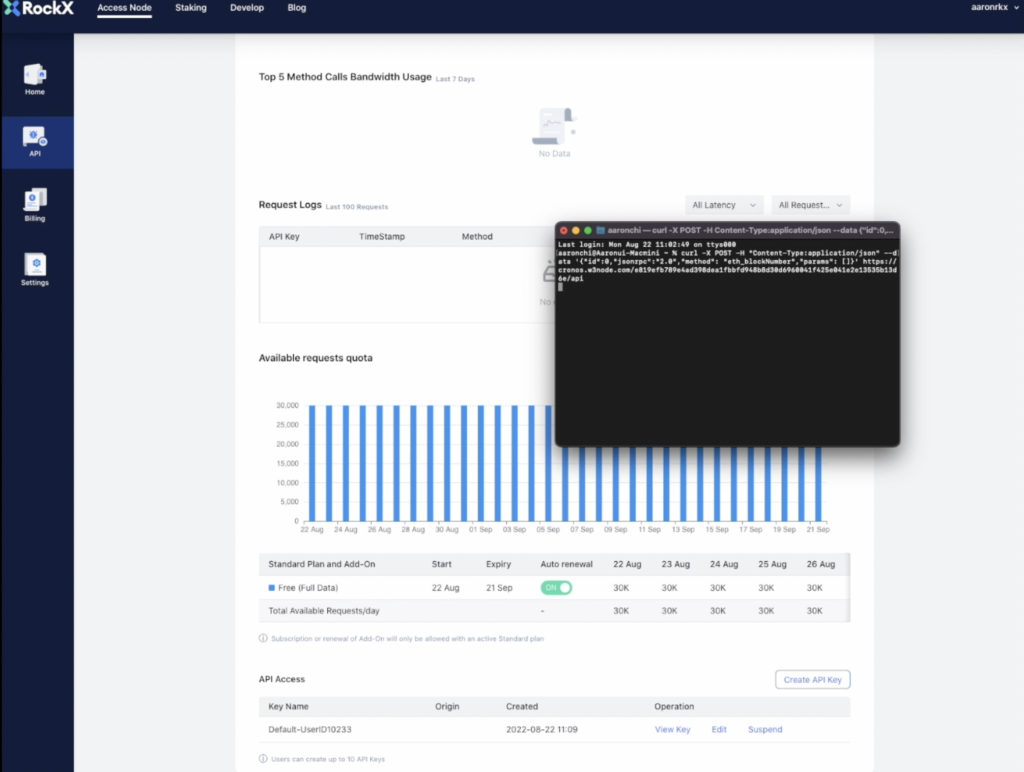
Paste the key into your terminal and press the “Enter” key to run. Once this is done, return to your RockX account’s API page again and check the “Total Requests” chart. Now, it should reflect “1” request. Congratulations, you’ve made your first on-chain data request!
The Easiest Way to Get On-Chain Data
Leverage RockX’s access nodes to gather on-chain data, historical data and analytics or to support new blockchain assets. RockX’s access nodes utilise a hybrid cloud architecture and backup nodes to avoid any single point of failure, around-the-clock monitoring, and quick implementation of security fixes and upgrades to ensure the best possible performance and security.
RockX is currently running exclusive discounts for our Growth plan on selected blockchains – get 800,000 requests monthly for just $49/month (U.P. $99/month). Check out our access node API portal to view all supported blockchains, create your account, and get started accessing on-chain data today!